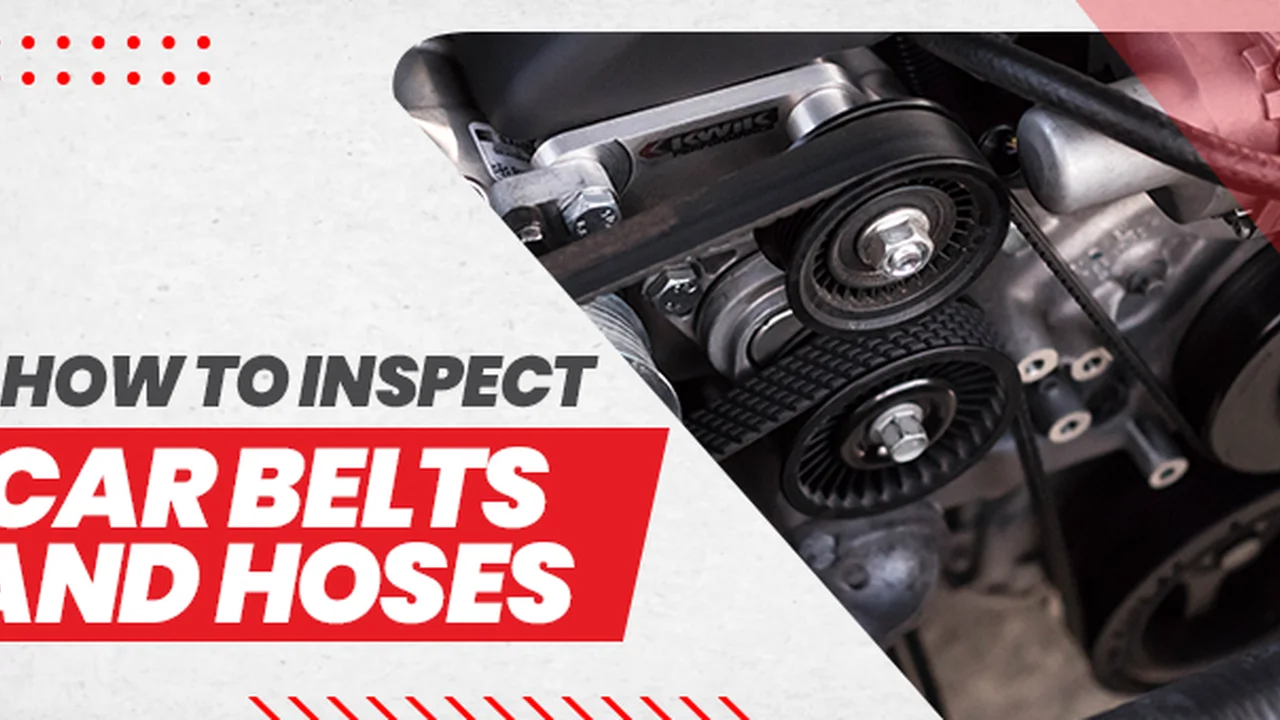
How to Inspect and Replace Engine Belts and Hoses: A DIY Guide
Learn how to inspect and replace engine belts and hoses for wear and tear with our comprehensive DIY guide. Prevent unexpected breakdowns and maintain optimal engine performance with regular inspections and replacements.
Why Engine Belt and Hose Inspection and Replacement are Crucial for Engine Reliability
Okay, let's talk about something that might not be the most glamorous part of car ownership, but it's definitely one of the most important: engine belts and hoses. These unsung heroes are responsible for keeping your engine running smoothly and preventing catastrophic breakdowns. Ignoring them is like playing Russian roulette with your car – sooner or later, something's going to give. But fear not! Inspecting and replacing them isn't rocket science. With a little know-how and the right tools, you can tackle this DIY project and save yourself a bundle of money.
Think of belts and hoses as the circulatory system of your engine. Belts drive critical components like the alternator (which charges your battery), the power steering pump, the air conditioning compressor, and the water pump (which circulates coolant to prevent overheating). Hoses, on the other hand, carry coolant, oil, and other fluids throughout the engine. If a belt breaks or a hose bursts, you're looking at potential engine damage, overheating, loss of power steering, or even a complete engine failure. Not fun, right?
Identifying Worn Engine Belts Signs of Belt Wear and Tear
So, how do you know when your belts are on their last legs? Here are some telltale signs to watch out for:
- Cracks: This is the most obvious sign. Look closely at the belt surface. Are there any small cracks or fissures? Even tiny cracks can indicate that the belt is drying out and losing its strength.
- Glazing: A glazed belt will have a smooth, shiny appearance. This happens when the belt slips on the pulleys, generating heat and hardening the rubber.
- Fraying: Check the edges of the belt. Are they starting to fray or unravel? This indicates that the belt is being worn down by the pulleys.
- Missing Chunks: If you see chunks of rubber missing from the belt, it's definitely time for a replacement.
- Squealing: A squealing belt is a classic sign of slippage. This usually happens when the belt is loose or worn. The squealing noise will be most noticeable when you start the engine or accelerate.
Recognizing Damaged Engine Hoses Spotting Hose Leaks and Deterioration
Hoses also deteriorate over time, becoming brittle, cracked, and prone to leaks. Here's what to look for when inspecting your hoses:
- Cracks: Just like belts, hoses can develop cracks, especially near the clamps.
- Bulges: A bulge in a hose indicates that the inner layers are weakening. This is a sign that the hose is about to burst.
- Soft Spots: Squeeze the hose. Does it feel soft or spongy in certain areas? This indicates internal deterioration.
- Leaks: Look for signs of coolant or oil leaks around the hose connections. A small leak can quickly turn into a major problem.
- Clamps: Check the clamps that secure the hoses to the engine. Are they corroded or loose? Replace them if necessary.
Tools and Materials Needed for Engine Belt and Hose Replacement A Comprehensive Checklist
Before you start replacing your belts and hoses, make sure you have all the necessary tools and materials. Here's a checklist to help you get organized:
- New Belts and Hoses: Always use high-quality replacement belts and hoses that are specifically designed for your vehicle. Check your owner's manual or consult a parts store to determine the correct part numbers.
- Socket Set: You'll need a socket set to remove and install the belt tensioner and hose clamps.
- Wrench Set: A wrench set will come in handy for various tasks, such as loosening stubborn clamps.
- Screwdrivers: You'll need both flathead and Phillips head screwdrivers.
- Pliers: Pliers are useful for gripping and manipulating hoses and clamps.
- Hose Clamp Pliers (Optional): These specialized pliers make it easier to remove and install spring-type hose clamps.
- Hose Pick or Hook Tool: This tool helps you break the seal between the hose and the fitting.
- Drain Pan: You'll need a drain pan to catch any coolant or oil that spills out when you remove the hoses.
- Coolant or Oil: Have extra coolant or oil on hand to top off the system after you've replaced the hoses.
- Shop Rags: Keep plenty of shop rags handy to wipe up spills and clean your hands.
- Safety Glasses: Always wear safety glasses to protect your eyes from debris.
- Gloves: Wear gloves to protect your hands from oil, coolant, and other chemicals.
- Torque Wrench: Use a torque wrench to tighten the belt tensioner and hose clamps to the correct specifications.
- Belt Routing Diagram: This diagram shows you how to route the belts correctly around the pulleys. You can usually find this diagram on a sticker under the hood or in your owner's manual.
Step-by-Step Guide to Replacing Engine Belts A Detailed Procedure
Replacing engine belts can seem daunting, but it's actually a pretty straightforward process. Here's a step-by-step guide to help you get the job done:
- Disconnect the Battery: Before you start working on your engine, always disconnect the negative battery cable. This will prevent accidental shocks and damage to your electrical system.
- Locate the Belt Tensioner: The belt tensioner is a spring-loaded pulley that keeps the belts tight. It's usually located near one of the pulleys that the belt runs around.
- Release the Belt Tension: Use a socket wrench or a special belt tensioner tool to release the tension on the belt. This will allow you to remove the belt from the pulleys.
- Remove the Old Belt: Carefully remove the old belt from the pulleys. Pay attention to the routing of the belt so you can install the new belt correctly.
- Inspect the Pulleys: While the belt is off, inspect the pulleys for any signs of damage, such as cracks, chips, or wear. Replace any damaged pulleys.
- Install the New Belt: Route the new belt around the pulleys, following the belt routing diagram. Make sure the belt is seated correctly in the grooves of the pulleys.
- Release the Belt Tensioner: Slowly release the belt tensioner, allowing it to tighten the new belt.
- Check the Belt Tension: Check the belt tension to make sure it's within the correct specifications. You can usually find this information in your owner's manual or on a sticker under the hood.
- Reconnect the Battery: Reconnect the negative battery cable.
- Start the Engine: Start the engine and listen for any unusual noises. If the belt is squealing, it may be too loose. If it's making a thumping noise, it may be too tight.
Step-by-Step Guide to Replacing Engine Hoses A Detailed Procedure
Replacing engine hoses is a bit more involved than replacing belts, but it's still a manageable DIY project. Here's a step-by-step guide:
- Disconnect the Battery: As with belt replacement, start by disconnecting the negative battery cable.
- Drain the Coolant (for Coolant Hoses): If you're replacing a coolant hose, you'll need to drain some of the coolant from the system. Place a drain pan under the radiator and open the drain valve (usually located at the bottom of the radiator).
- Loosen the Hose Clamps: Use a screwdriver or pliers to loosen the hose clamps that secure the hose to the engine.
- Remove the Old Hose: Carefully twist and pull the hose to break the seal between the hose and the fitting. Use a hose pick or hook tool if necessary.
- Clean the Fittings: Clean the fittings on the engine to remove any old coolant or debris.
- Install the New Hose: Slide the new hose onto the fittings. Make sure it's seated correctly.
- Tighten the Hose Clamps: Tighten the hose clamps to the correct specifications. Don't overtighten them, as this can damage the hose.
- Refill the Coolant (for Coolant Hoses): If you drained the coolant, refill the system with fresh coolant.
- Reconnect the Battery: Reconnect the negative battery cable.
- Start the Engine: Start the engine and check for leaks around the hose connections.
Recommended Engine Belts and Hoses Brands and Products
Choosing the right belts and hoses is essential for ensuring long-lasting performance and reliability. Here are some recommended brands and products:
- Gates: Gates is a leading manufacturer of automotive belts and hoses. They offer a wide range of high-quality products that are designed to meet or exceed OEM specifications. Their belts are known for their durability and resistance to cracking and glazing. Their hoses are made from high-quality materials that can withstand extreme temperatures and pressures.
- Gates Micro-V Serpentine Belt: This belt is designed for high-mileage vehicles and features a special construction that resists stretching and cracking. Expect to pay around $20-$40 per belt depending on the vehicle. This is a great choice for everyday driving.
- Gates Blue Racing Silicone Coolant Hose: These hoses are made from silicone, which is more resistant to heat and chemicals than traditional rubber. They are perfect for high-performance engines. A typical hose can range from $15-$35. Consider these for vehicles that are tracked or frequently driven hard.
- Continental (formerly Contitech): Continental is another well-respected brand that offers a wide range of automotive parts, including belts and hoses. Their products are known for their quality and durability.
- Continental Elite Poly-V Serpentine Belt: This belt features a unique rib design that provides excellent grip and reduces noise. Expect a price range of $25-$45. This is a solid all-around performer.
- Continental Molded Coolant Hose: These hoses are designed to fit specific vehicle applications and are made from high-quality materials that resist cracking and leaking. Prices typically range from $10-$30. A good choice for a direct replacement.
- Dayco: Dayco is a global manufacturer of automotive belts, hoses, and tensioners. They offer a wide range of products for both domestic and import vehicles.
- Dayco Poly Rib Serpentine Belt: This belt features a special construction that reduces noise and vibration. Priced between $18-$38. An economical and reliable option.
- Dayco Radiator Hose: These hoses are designed to withstand high temperatures and pressures and are made from durable materials. Expect to pay between $8-$25. A budget-friendly replacement option.
Comparing Engine Belts and Hoses Different Materials and Performance Characteristics
Engine belts and hoses are made from a variety of materials, each with its own unique properties. Here's a quick overview of some of the most common materials:
- Rubber: Rubber is the most common material used for engine belts and hoses. It's relatively inexpensive and provides good flexibility and durability. However, rubber can be susceptible to cracking and drying out over time.
- EPDM Rubber: EPDM (Ethylene Propylene Diene Monomer) rubber is a synthetic rubber that is more resistant to heat, chemicals, and ozone than traditional rubber. EPDM belts and hoses are a good choice for vehicles that operate in harsh environments.
- Silicone: Silicone is a highly heat-resistant material that is often used for high-performance engine hoses. Silicone hoses are more expensive than rubber hoses, but they offer superior durability and resistance to cracking and leaking.
Safety Precautions and Tips for Engine Belt and Hose Replacement Ensuring a Safe DIY Experience
Working on your car can be dangerous if you're not careful. Here are some safety precautions to keep in mind when replacing engine belts and hoses:
- Disconnect the Battery: Always disconnect the negative battery cable before working on your engine.
- Wear Safety Glasses: Protect your eyes from debris by wearing safety glasses.
- Wear Gloves: Protect your hands from oil, coolant, and other chemicals by wearing gloves.
- Work in a Well-Ventilated Area: If you're working with coolant or other chemicals, make sure you're in a well-ventilated area.
- Dispose of Old Belts and Hoses Properly: Old belts and hoses can contain harmful chemicals. Dispose of them properly at a recycling center or auto parts store.
- Consult Your Owner's Manual: Your owner's manual contains valuable information about your vehicle, including the correct belt and hose specifications.
- If in Doubt, Seek Professional Help: If you're not comfortable replacing your belts and hoses yourself, take your car to a qualified mechanic.
The Long-Term Benefits of Regular Engine Belt and Hose Maintenance
Regularly inspecting and replacing your engine belts and hoses might seem like a chore, but it's an investment in the long-term health and reliability of your vehicle. By staying on top of this maintenance task, you can prevent unexpected breakdowns, extend the life of your engine, and save yourself a lot of money in the long run.
So, there you have it! A comprehensive guide to inspecting and replacing engine belts and hoses. With a little effort and the right tools, you can keep your engine running smoothly for years to come. Good luck, and happy wrenching!
:max_bytes(150000):strip_icc()/277019-baked-pork-chops-with-cream-of-mushroom-soup-DDMFS-beauty-4x3-BG-7505-5762b731cf30447d9cbbbbbf387beafa.jpg)